

1. New photography tutorials and tips
2. Latest photography assignments
3. Photo competitions and prizes
Enter your email below to subscribe.
Having a studio at home has several Advantages. You can do things at your own pace, time is not wasted on transit, you will not get curtailed due to rain, sun etc. Contrary to what you think, a small home studio will not cost much and more importantly will not occupy a great deal of the most important resource in a home viz. space. The idea of setting up a home studio is to give an economical solution to create a studio suitable for table top products though it can be extended to other types of photography. So, here are the elements that go in to setting up a home studio.

Photo table and accessories:
The most important item you need for a home studio is a table to keep the products that need to be photographed. No, conventional tables won’t do the job. You would need proper photo tables, also known as light tables or still life tables. These are meant for placing the products for photography and also for lighting them appropriately. A photo table looks like a chair with the seat removed. It allows a seamless backdrop like a laminate to be placed on top. You can also substitute the laminate with a sheet of translucent material in case you want to light your product from behind.
Laminate:
This is the decorative sheet that is stuck on the top of most home and office tables. These are available in several colors and textures. The most useful ones are the white ones and those with a wood grain finish. Usually the laminate is very thin and will blend if you keep heavy articles. If you get into a situation like this, keep a piece of plywood on top of the photo table underneath the laminate.
Translucent sheet:
transparent and translucent products like glassware, crystal are best lit from behind. For this you need to keep a translucent sheet on the photo table and keep the light sources behind this sheet.
Lights:
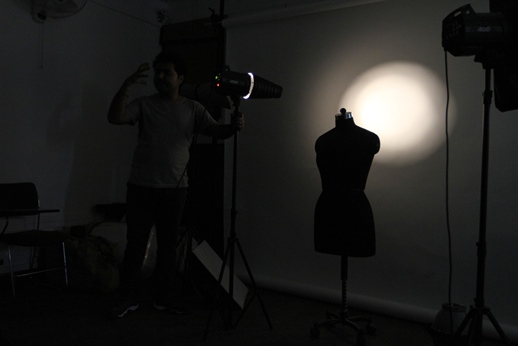
Once you have the light table you need to get the lights organized. There are two types of lights available-continuous and flash. Continuous lights use different technologies like CFL, Halogen, LED, etc. An alternate light source is the electronic flash. For a home studio, large mains operated studio strobes are an overkill. You can use portable electronic flashes; the type you mount on your camera hot shoe. These flashes are low cost, battery operated and powerful enough.
Light modifiers:
The raw light out from a portable flash is very harsh and sometimes may need to be modified. This is done with the help of fill light modifiers. Some of the light modifiers are diffusers, reflectors, Gobos etc.
Light tent:
A light tent is a rectangular box with translucent material on all sides. Some of the sides have openings that can be closed or opened by means of zips or Velcro. These ports allow you to photograph the product inside the tent. These are foldable and hence portable. They act as a boon for table top Photography.
Indian Institute of Photography | Copyright © 2025. All Rights Reserved